1. Open the "ae_2_Maya.aep" in After Effects, note what the comp width, fps are.
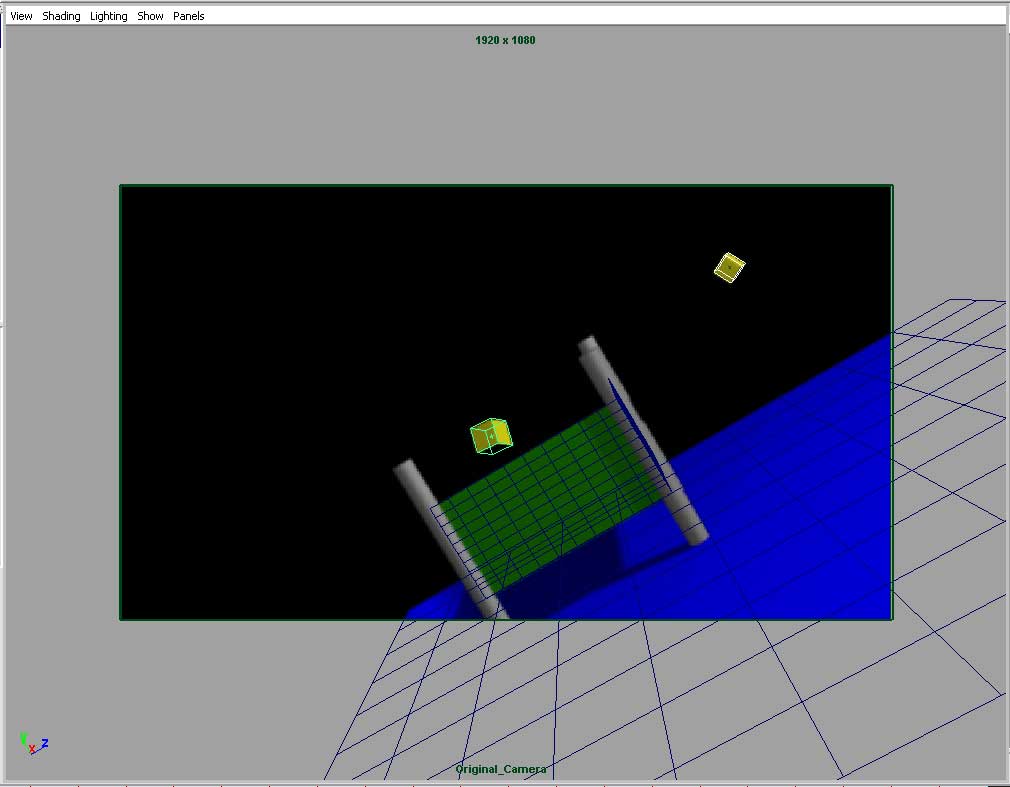
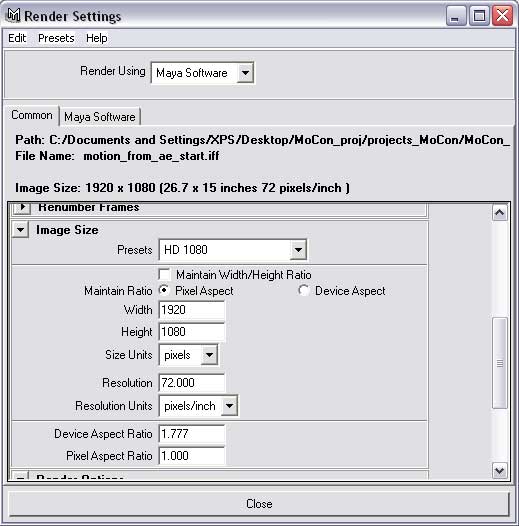
2. Open the "motion_from_ae_start.mb" file in Maya. Inside this file there are some objects already created and placed, just ignore them for now. Go to your Render Globals and set the Width and Height to be the same as the AE proejct. Note HD1080, is what was used. Also note the "Device Aspect Ratio" as we'll use this later. Lastly, "Pixel Aspect Ratio" is set to 1.0. I recommend using 1.0 across the board.
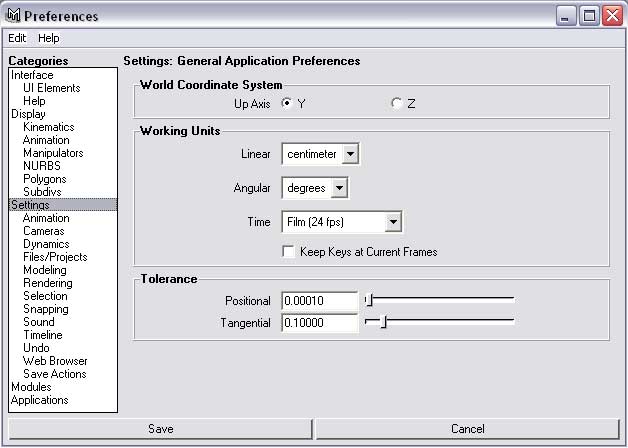
3. Then open up your Maya preferences and go to settings. Set the prefernces to use "centimeters" and "24fps"
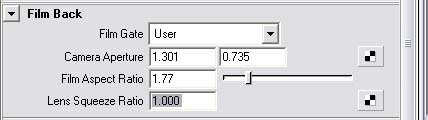
4. Next add a new camera and set the camera's apature ratio to be 1.777 to match your render global's device aspect ratio. I usually start with a 35mm full app, then set my film aspect ratio.
5. Now, back to AE. Select your camera, bring up the MoCon palette by launching the script from the File Menu then Scripts.
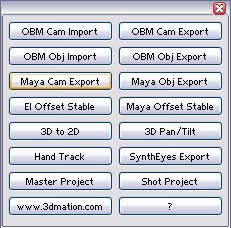
6. This will bring up the Maya Camera Export dialog.
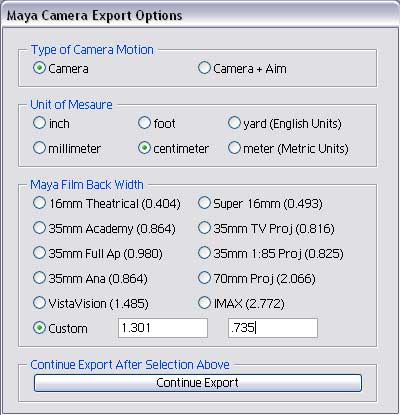
The camera type we are using in this project is a Camera, not a Camera + Aim. Only use the second kind if you have animated only those channels. Next set the unit of measure to be "centimeters" and set the Maya Film Back to "Custom" "1.301" ".735" to match the Maya apature film back. Continue the export and save to your curves folder.
A success dialog will come up.
7. Do the same thing for your objects. The only option here is unit of measure. Make sure you set it the same.
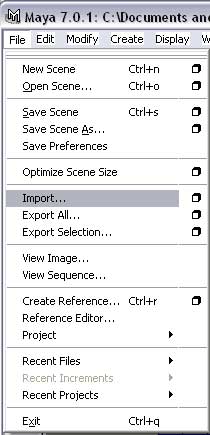
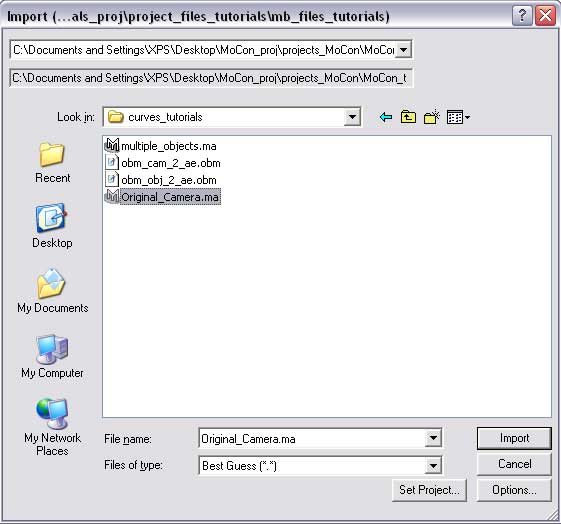
8. Now back to Maya. Go to File and Import and select your camera file.
7. This will add a new camera, which you can see in the Outliner. It has the same name as the one in AE.
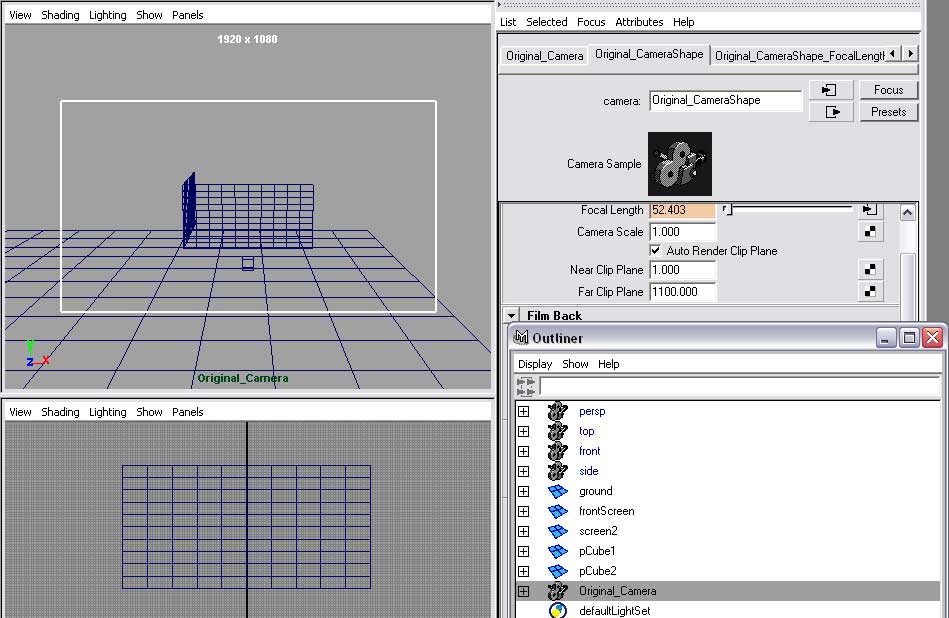
Select the camera and set the Near and Far Clip Planes to 1, and 1100 respectively. Also change one of your panels to that camera, and set the camera settings to "resolution gate" and "overscan".
8. Add an image plane to the camera. Select the "from_ae_480" image sequence.
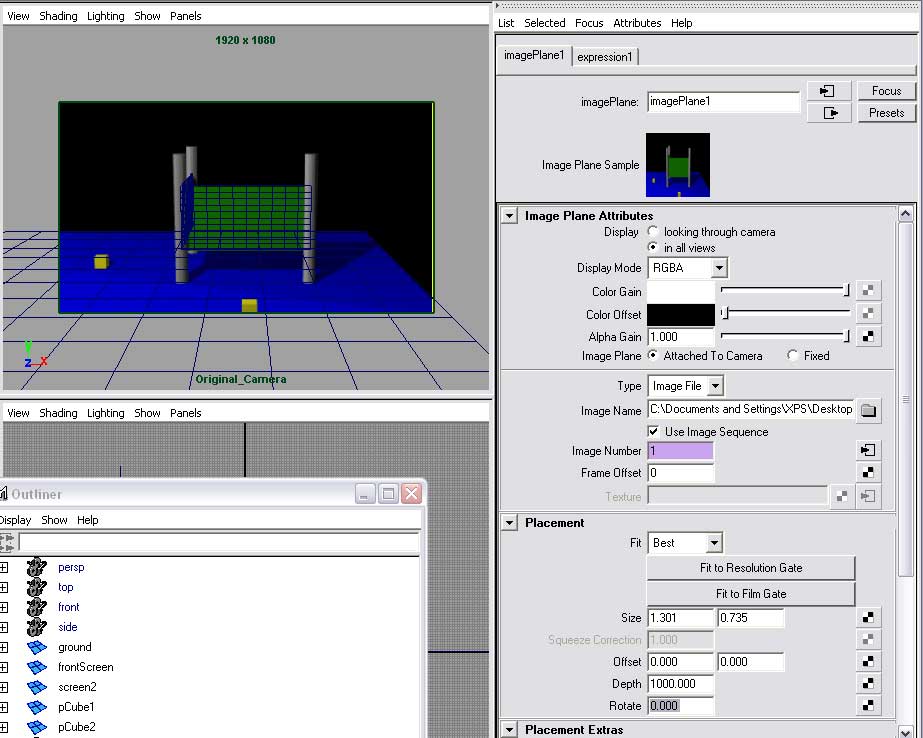
The screens and ground should match fairly well now.
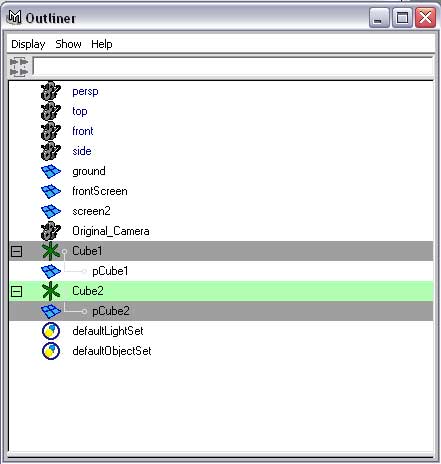
9. Do the file/import thing again, and select your cube file this time. This will add the Cube1 and Cube2 locators. Select the Cube1 locator and write down the position/rotation numbers. Then enter those in the pCube1 translation node. Finally make the pCube1 cube a child of the Cube1 locator. Do the same for pCube2. In the end, your heirarhcy should look like this.
10. Scrub through the project and you can see the camera and object motion was brought across successfully.